If you’re looking for a free option to host your app, you could use the free trial of the common hosting options. However, I recently discovered a different option and decided to give a go: Miren. Their team is building an open-source deployment platform that can be self-hosted on your own hardware or any cloud, and it’s currently offering a free developer preview.
Initially, there is no need to do any server setup, because you can deploy your app to their demo cluster in just a few minutes. Read along for a detailed step-by-step process on how to deploy 2 demo apps.
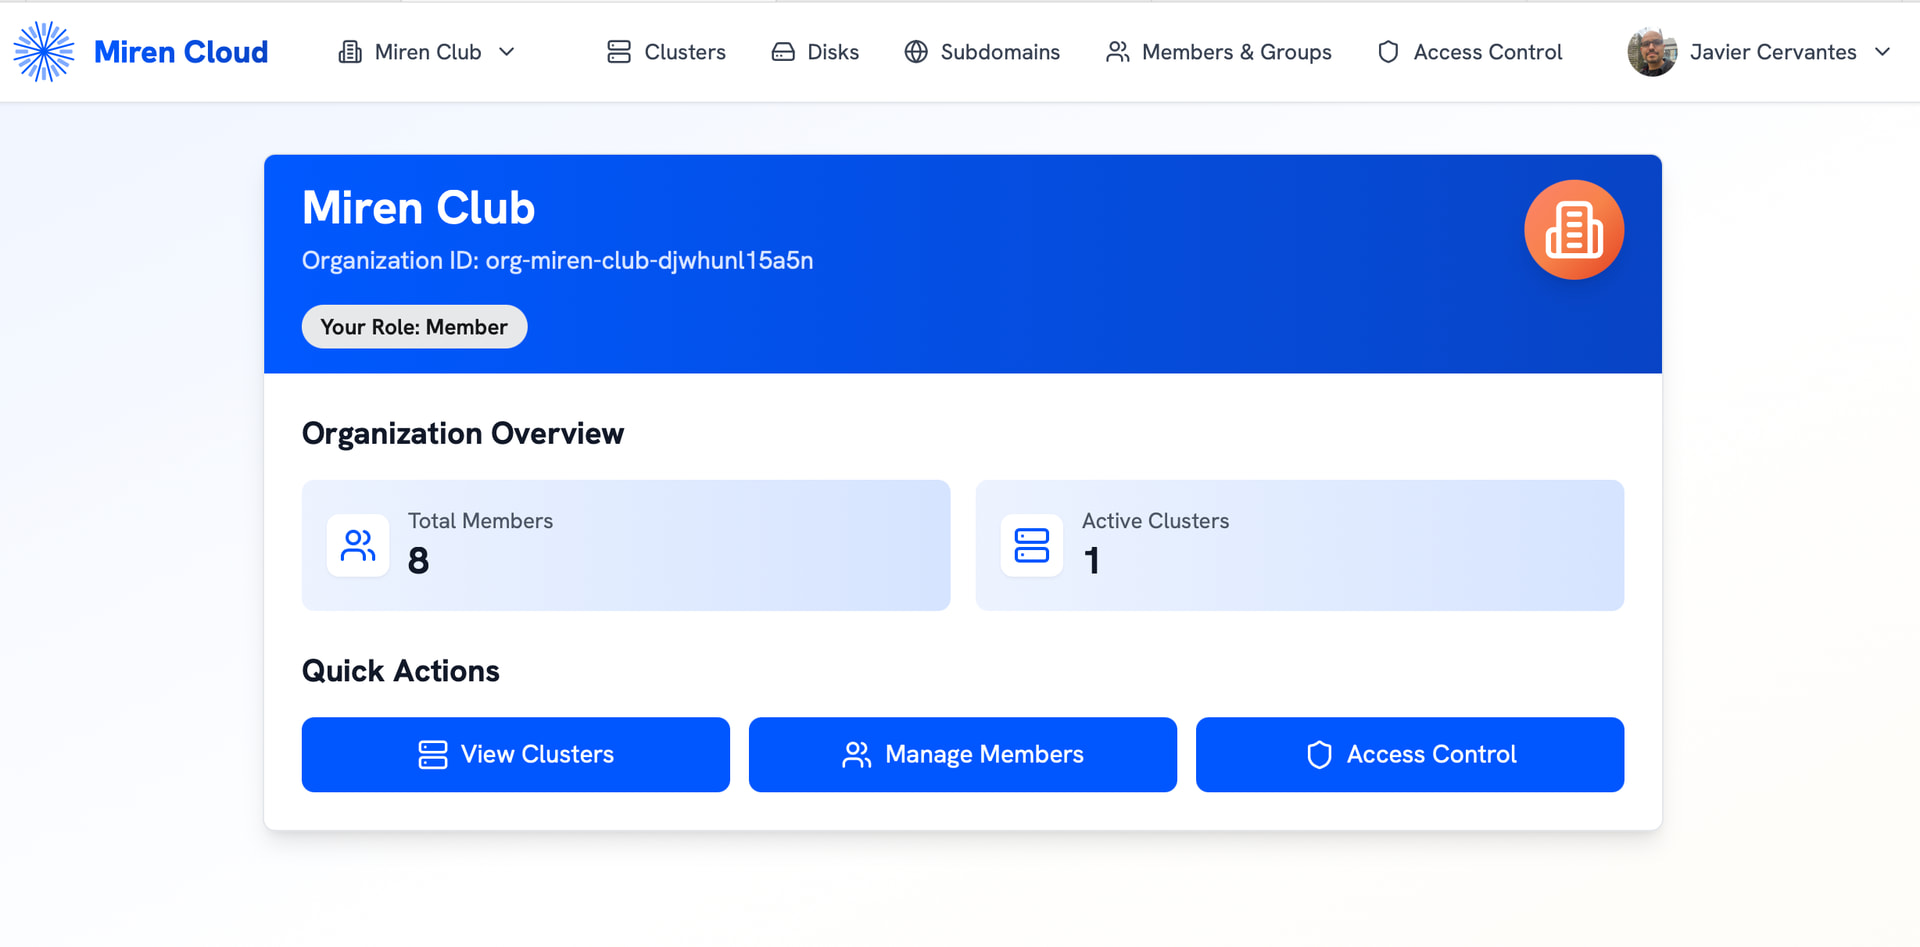
Request access to the demo cluster
First, you’ll need to send a message in the #miren-club on Discord. Once you receive the invitation, log in to Miren Cloud to verify you’ve got access.
Install dependencies
Open your terminal and run the following commands:
Install rv
curl -LsSf https://rv.dev/install | sh
# macOS

brew tap mirendev/tap
brew install miren
# Linux

curl -fLO https://api.miren.cloud/assets/release/miren/v0.7.1/miren-linux-arm64.tar.gz

tar xzf miren-linux-arm64.tar.gz && sudo install -v -m 755 miren /usr/local/bin/
Authentication
-
Connect to the demo cluster by running
miren loginin your terminal. -
Your default browser will open and ask you to log in, you’ll see a message like this one:
 Initiating device flow authentication...
✓ Please authenticate using one of these methods:

  Option 1: Visit this URL (code included):
    https://miren.cloud/device?code=KYQM-3CGQ

  Option 2: Visit this URL and enter the code manually:
    URL: https://miren.cloud/device
    Code: KYQM-3CGQ

  Waiting for authentication...
Visit the URL to authenticate, for example: https://miren.cloud/device?code=KYQM-3CGQ
Once you accept, you’ll see the following message:

Back in your terminal your should see something like this:
✓ Authentication successful!
  Generating new keypair for future authentication...
  Registering public key with server...
  Public key registered successfully
  Identity 'cloud' saved to config
  Future authentication will use the keypair (no login required)

  Checking for available clusters...
  Found one cluster: club (Miren Club)
  Automatically configuring cluster connection...
  Trying to connect to cluster addresses...
  Certificate fingerprint verified for 34.27.122.56:8443
✓ Successfully connected to 34.27.122.56:8443
✓ Automatically configured cluster 'club' at 34.27.122.56:8443
  Set 'club' as the active cluster
Now, bind Miren Club cluster and set as default by running miren cluster add. After you see the list of available clusters, click Enter to continue.
  Using identity 'cloud' (only one available)
  Fetching available clusters from identity server...
Select a cluster to bind:

   NAME  ORGANIZATION  ADDRESS
▸  club  Miren Club    34.27.122.56:8443 (+6)
Finally, you’ll see the following message, that means you’re all set.
  Setting "club" as the active cluster
✓ Successfully added cluster "club" with identity "cloud" at 34.27.122.56:8443
  Configuration saved to clientconfig.d/club.yaml
Create a Hanami app
We’ll create a brand new Hanami app. Run the following command in your terminal to create the app:
rvx hanami new hanami-demo

cd hanami-demo

rv clean-install

rv run hanami dev
Visit http://localhost:2300/ to confirm the app is running:

Deploy the hanami app
Create a .miren/app.toml file with this content:
name = 'hanami-demo'
post_import = ''
env = []
include = []

[services.web]
port = 2300
Run miren deploy, and you should see the following confirmation:
  ✓ Deploying: hanami-demo → club
  ✓ Upload artifacts (0.4s) - 22.1 KB at 62.0 KB/s
  ⠇ Building image...
      Building 10 steps: ███████████████ 100%
  ✓ Build & push image (3.4s) - 10 steps completed

Updated version deployed. All traffic moved to new version.
No routes configured for this app.
To set a hostname, try: miren route set hanami-demo.cluster-jwomf2l0tn8z.org-miren-club-djwhunl15a5n.miren.systems hanami-demo
To make it the default route: miren route set-default hanami-demo
Now run the following command to allow traffic (You need to use the values returned in the confirmation message):
miren route set hanami-demo.cluster-jwomf2l0tn8z.org-miren-club-djwhunl15a5n.miren.systems hanami-demo
Congratulations, your app is now available!
For example: https://hanami-demo.cluster-jwomf2l0tn8z.org-miren-club-djwhunl15a5n.miren.systems/
Create a Bridgetown app
Now, we’ll create a brand new Bridgetown app. Run the following command in your terminal to create the app:
rvx bridgetown new bridgetown-demo

cd bridgetown-demo

rv clean-install

rv run bin/bridgetown start
Visit http://localhost:4000 to confirm the app is running:

Deploy the Bridgetown app
Create a .miren/app.toml file with this content:
name = 'mysite'
post_import = ''
include = []

[[env]]
key = "PIDFILE"
value = "/tmp/server.pid"

[[env]]
key = "BRIDGETOWN_ENV"
value = "production"

[services.web]
port = 4000

[build]
onbuild = [
  "apt-get update",
  "apt-get install -y npm",
  "npm install",
  "bin/bridgetown deploy"
]
Run miren deploy and you should see the following confirmation.
  ✓ Deploying: bridgetown-demo → club
  ✓ Upload artifacts (0.4s) - 40.6 KB at 129.0 KB/s
  ⠇ Building image...
      Building 10 steps: ███████████████ 100%
  ✓ Build & push image (2m 19s) - 10 steps completed


Updated version EK4s deployed. All traffic moved to new version.

No routes configured for this app.
To set a hostname, try: miren route set mysite.cluster-jwomf2l0tn8z.org-miren-club-djwhunl15a5n.miren.systems bridgetown-demo
To make it the default route: miren route set-default bridgetown-demo
Now run the following command to allow traffic (You need to use the values returned in the confirmation message):
miren route set mysite.cluster-jwomf2l0tn8z.org-miren-club-djwhunl15a5n.miren.systems mysite
Congratulations, your second app is now available!
For example: https://mysite.cluster-jwomf2l0tn8z.org-miren-club-djwhunl15a5n.miren.systems/
Bonus: Set up a miren.club domain
The miren club server is a flat namespace of routes, so anybody with access can set a route for .miren.club. We’ll set up the routes for the new subdomains by running these commands:
miren route set hanami-demo.run.garden hanami-demo

miren route set bridgetown-demo.run.garden bridgetown-demo
And that’s all! Check out the demo apps here:
A bientôt
Before you go, take a look at the other articles in the deployment tag. Also here are some useful resources that were used to create this guide:
Please reply if you find this useful, have any feedback, or if you’re having any issues with the provided steps.